How to Put a Patch on a Hat – The Complete Guide
Add personality, style, and branding to your favorite cap in just a few simple steps.
If you’ve ever wanted to give your plain hat a little extra personality or showcase your brand in style, patches are the perfect solution. Whether you love trucker hats, baseball caps, or beanies, a well-placed patch can transform them into something completely unique.
In this guide, we’ll walk you through different methods of putting a patch on a hat — from the quick-and-easy iron-on technique to the more durable sew-on and adhesive options. By the end, you’ll be ready to customize your hats like a pro.
Why Add a Patch to Your Hat?
Before we get into the how, let’s talk about the why. Adding a patch to your hat can:
- Show your personality – display your hobbies, favorite team, or personal style.
- Promote your brand – perfect for businesses, sports teams, or events.
- Make a fashion statement – turn a plain hat into a trendsetter piece.
- Cover up wear & tear – hide stains or worn spots with style.
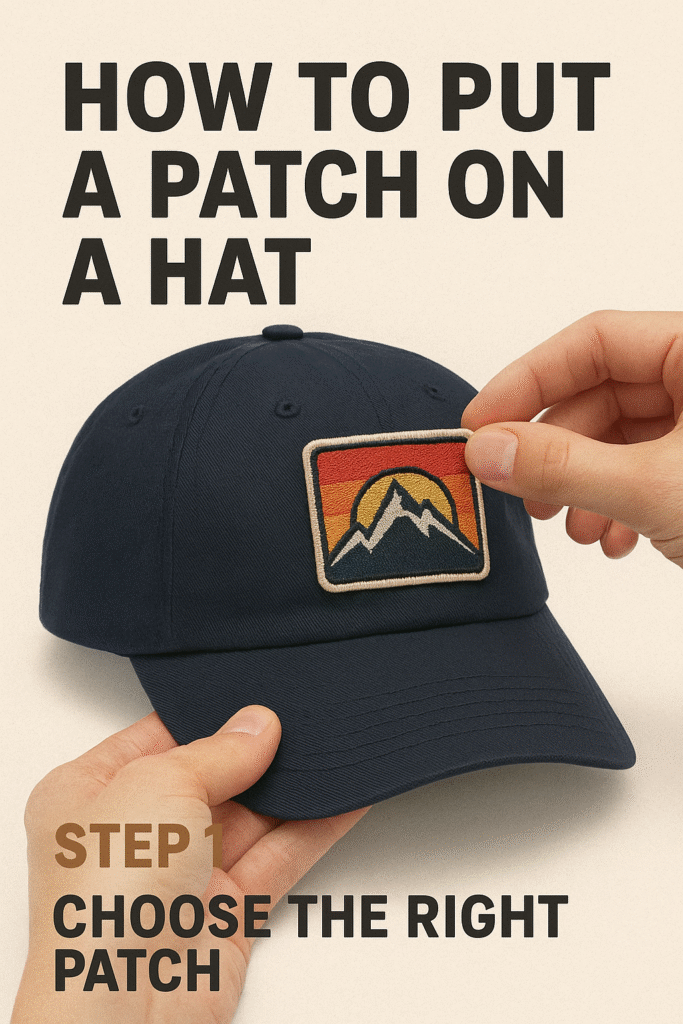
Choosing the Right Patch
Before attaching a patch, make sure it suits your hat style. Here are some options:
- Embroidered patches – classic textured look, great for logos.
- Woven patches – detailed designs with fine lines.
- PVC patches – durable and weather-resistant.
- Leather patches – rustic, premium vibe.
- Sublimation patches – full-color, photo-quality printing.
💡 Pro Tip: For curved front panels like baseball caps, choose a smaller patch to prevent wrinkles.
Tools & Materials You’ll Need
Depending on the method you choose, you may need:
- Patch of your choice
- Iron (for iron-on patches)
- Needle and thread (for sew-on patches)
- Fabric glue or adhesive (for glue-on patches)
- Pressing cloth or parchment paper
- Hat form or towel (to keep hat’s shape)
Method 1: Iron-On Patch
This is one of the quickest and easiest ways to attach a patch to a hat — perfect for cotton and polyester caps.

Steps:
- Preheat your iron to a medium-high setting (no steam).
- Position the patch exactly where you want it.
- Place a pressing cloth over the patch to protect it.
- Press firmly for 10–15 seconds.
- Flip the hat inside out and press again from the back for another 10 seconds.
- Allow to cool completely before wearing.
⚠ Avoid using this method on nylon or delicate fabrics — they may melt under heat.
Method 2: Sewing a Patch
If you want the patch to last a lifetime, sewing is the best choice.
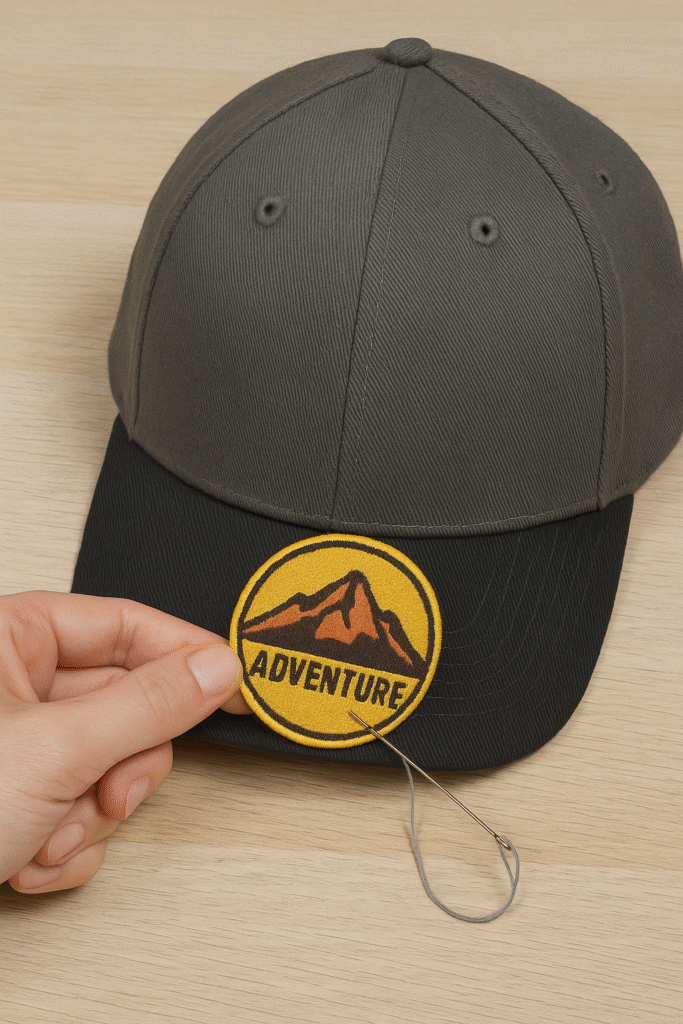
Steps:
- Thread a needle with strong polyester thread.
- Pin or tape the patch in place.
- Use a running stitch or blanket stitch around the edge.
- Tie off the thread securely on the inside of the hat.
💡 Tip: Use matching thread color for a clean look or contrasting thread for a bold design.
Method 3: Fabric Glue or Adhesive
If you don’t have sewing skills or an iron, fabric glue is a quick alternative.
Steps:
- Apply a thin, even layer of fabric glue to the back of the patch.
- Press it firmly in place.
- Let it dry for at least 24 hours before wearing.
⚠ This method is less durable for hats you’ll wash often.
Special Tips for Curved Hats
- Use a curved hat jig or stuff the crown with a rolled towel before attaching the patch to maintain shape.
- Avoid large, stiff patches — they won’t lay flat on curved surfaces.
- For trucker hats, place patches on the front foam area for best results.
Caring for Your Hat with a Patch
To keep your custom hat looking sharp:
- Hand wash instead of machine washing.
- Avoid soaking the patch area in hot water.
- If iron-on edges start to lift, press them again with a cloth.
Final Thoughts
Putting a patch on a hat is a fun, creative way to make it unique — whether you’re rocking your favorite sports logo, representing your business, or just adding a pop of style. Choose the method that fits your needs, and in just a few minutes, you’ll have a hat that’s truly one-of-a-kind.